Why My Database Disappeared and How Docker Volumes Fixed It
I learned about Docker volumes the hard way. It was a Tuesday afternoon, and I was feeling pretty good about myself. I’d just containerized our MySQL database and deployed it to production. Everything was running smoothly.
Then the server needed a reboot.
When it came back up, I restarted the MySQL container and… nothing. All our data was gone. Customer records, transaction history, everything. Vanished like it never existed.
That’s when I discovered the ephemeral nature of containers the hard way. If you don’t use volumes, your data dies with your container. Every. Single. Time.
The Disaster That Taught Me Everything
Let me show you exactly what happened:
“How do I store data in a container without losing it when it stops?”
That’s where Docker volumes come in. Containers are lightweight and ephemeral. If you don’t use volumes or other Docker storage mounts, any data within a container is permanently deleted whenever it is removed. Your applications need persistent storage for databases, logs, and other critical data in real-world use cases.
So, let’s break down Docker volume in a way that makes sense — without unnecessary complexity.
Why Do We Need Volumes?
Let’s say you’re running a MySQL database inside a container:
docker run -d \
 --name mydb \
 -e MYSQL\_ROOT\_PASSWORD=rootpassword \
 mysql:9.2.0
Side note: This is mainly for testing; in real-world applications, it is not advisable to use environment variables for sensitive credentials in docker runcommand, exposing credentials this way is a security risk because
The password is stored in the container’s environment variables, making it visible through docker inspect or ps aux.
Also, if someone gains access to your Docker daemon or logs, they can easily retrieve the password.
Better practices will include Docker secrets and using .env File, to name a few — I probably will have a write-up later regarding this.

At first, everything seems fine. Your database is running inside the container, accepting queries and storing data.
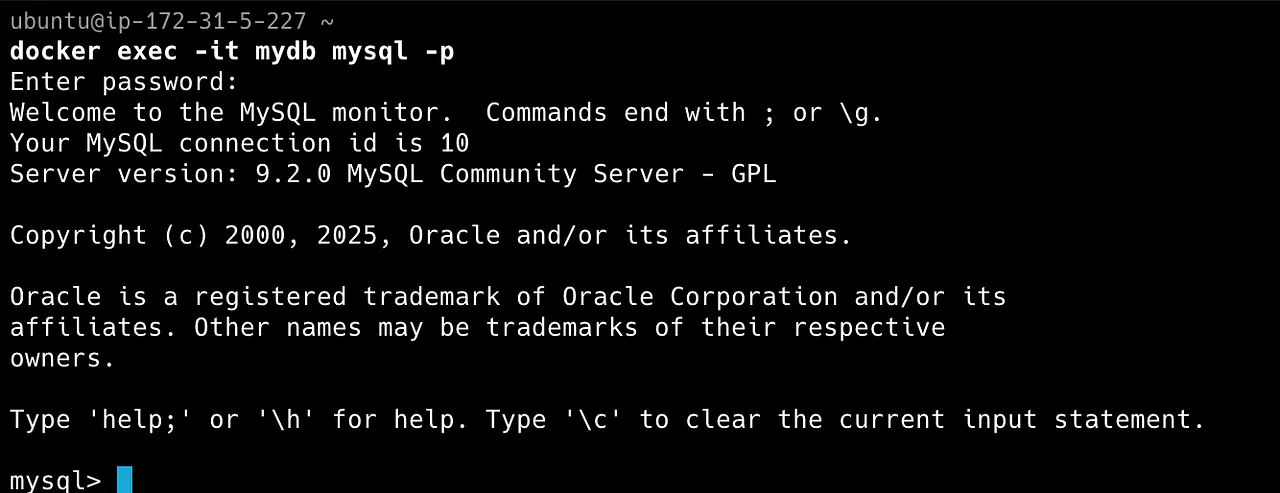
# Connect to the MySQL container
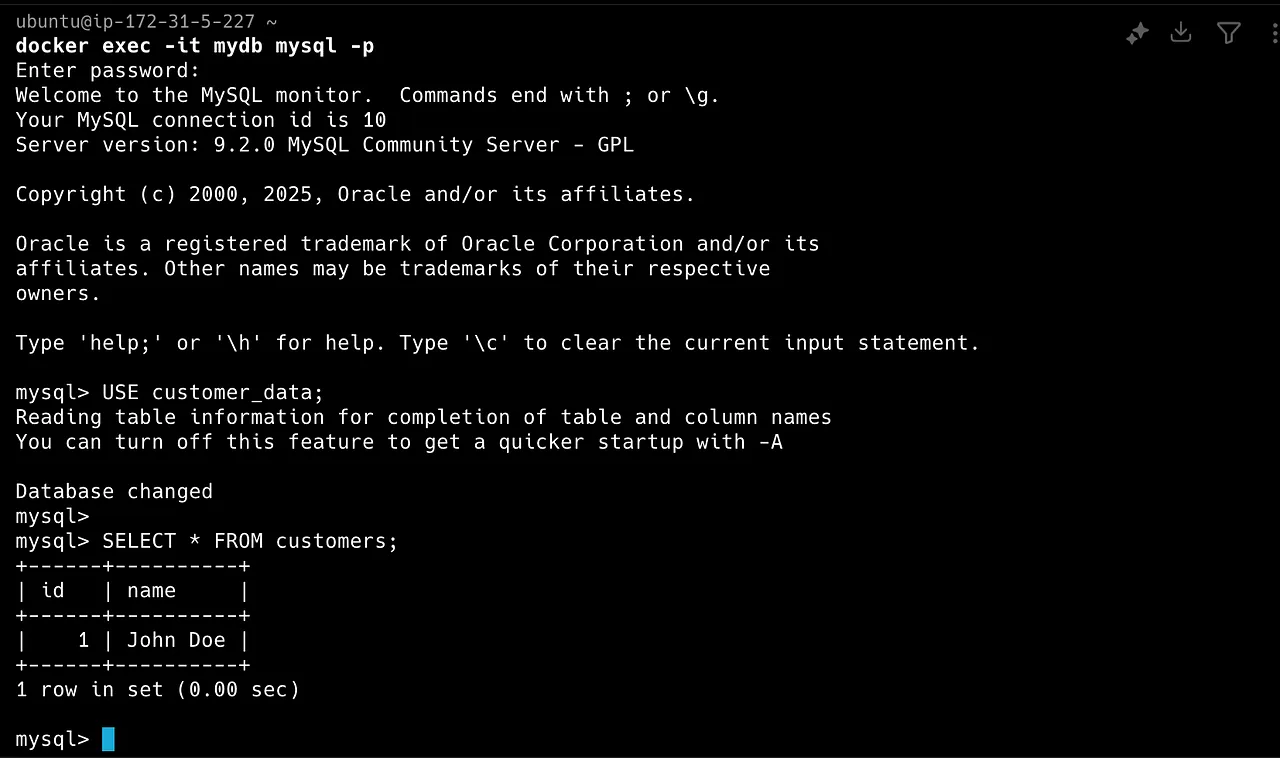
docker exec -it mydb mysql -p
# Enter password: rootpassword
#Create a database and add some data
CREATE DATABASE customer\_data;
USE customer\_data;
CREATE TABLE customers (id INT, name VARCHAR(100));
INSERT INTO customers VALUES (1, 'John Doe');
SELECT \* FROM customers;
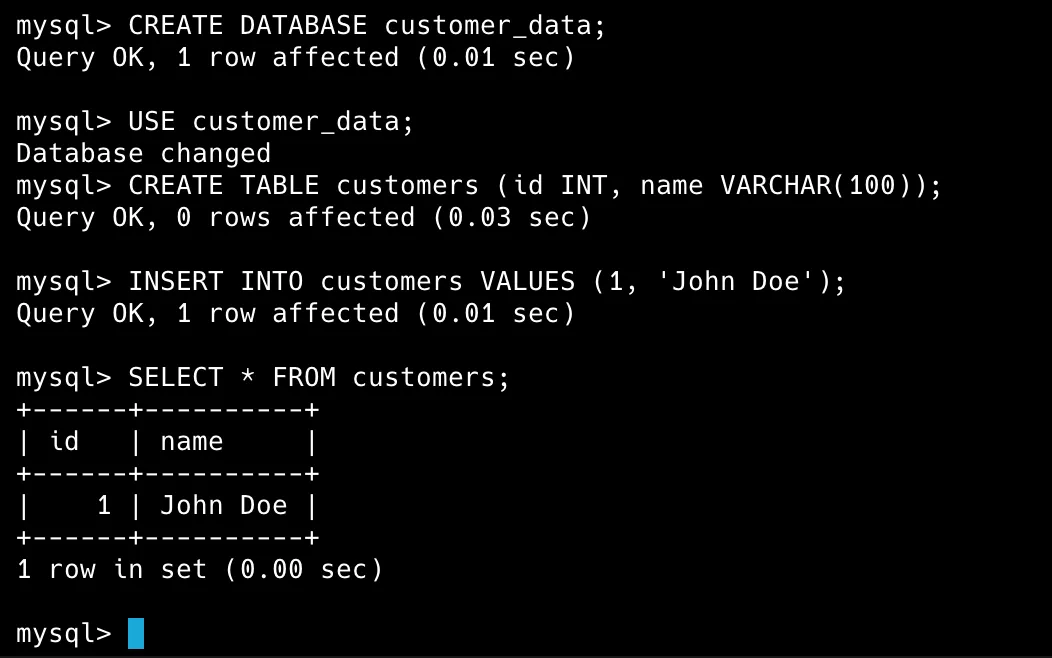
Great! Our database is running with some data. But what happens when the container is removed or crashes?
docker rm -f mydb
Now, let’s try to recreate the container:
docker run -d \
 --name mydb \
 -e MYSQL\_ROOT\_PASSWORD=rootpassword \
 mysql:9.2.0

If we connect to this new container and check for our data:
docker exec -it mydb mysql -p
mysql> USE customer_data;
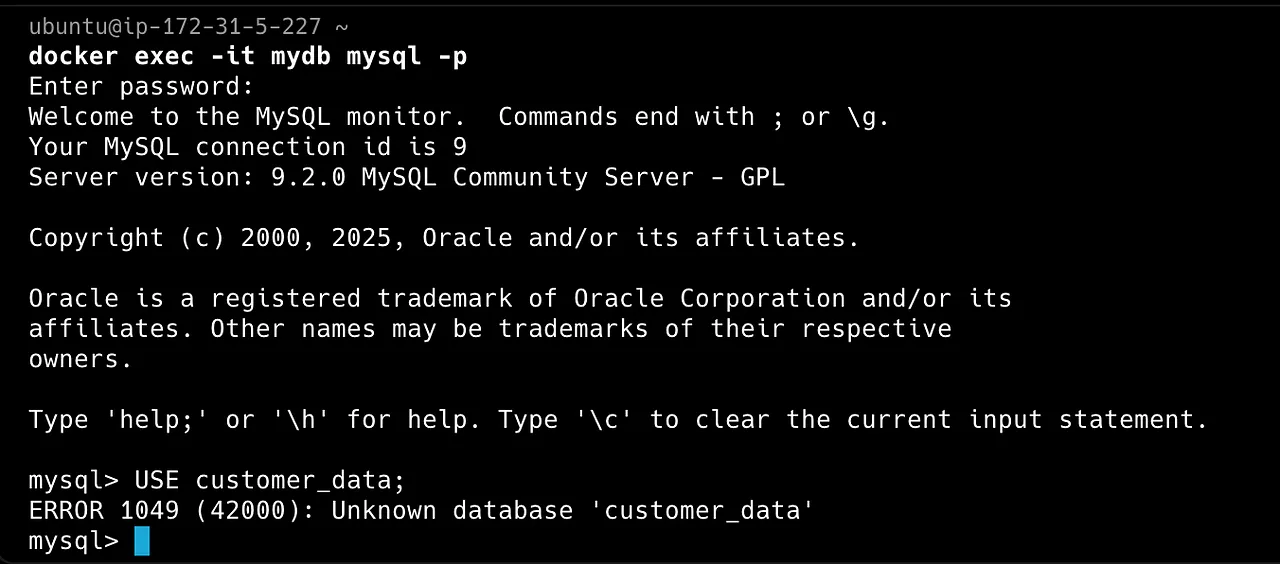
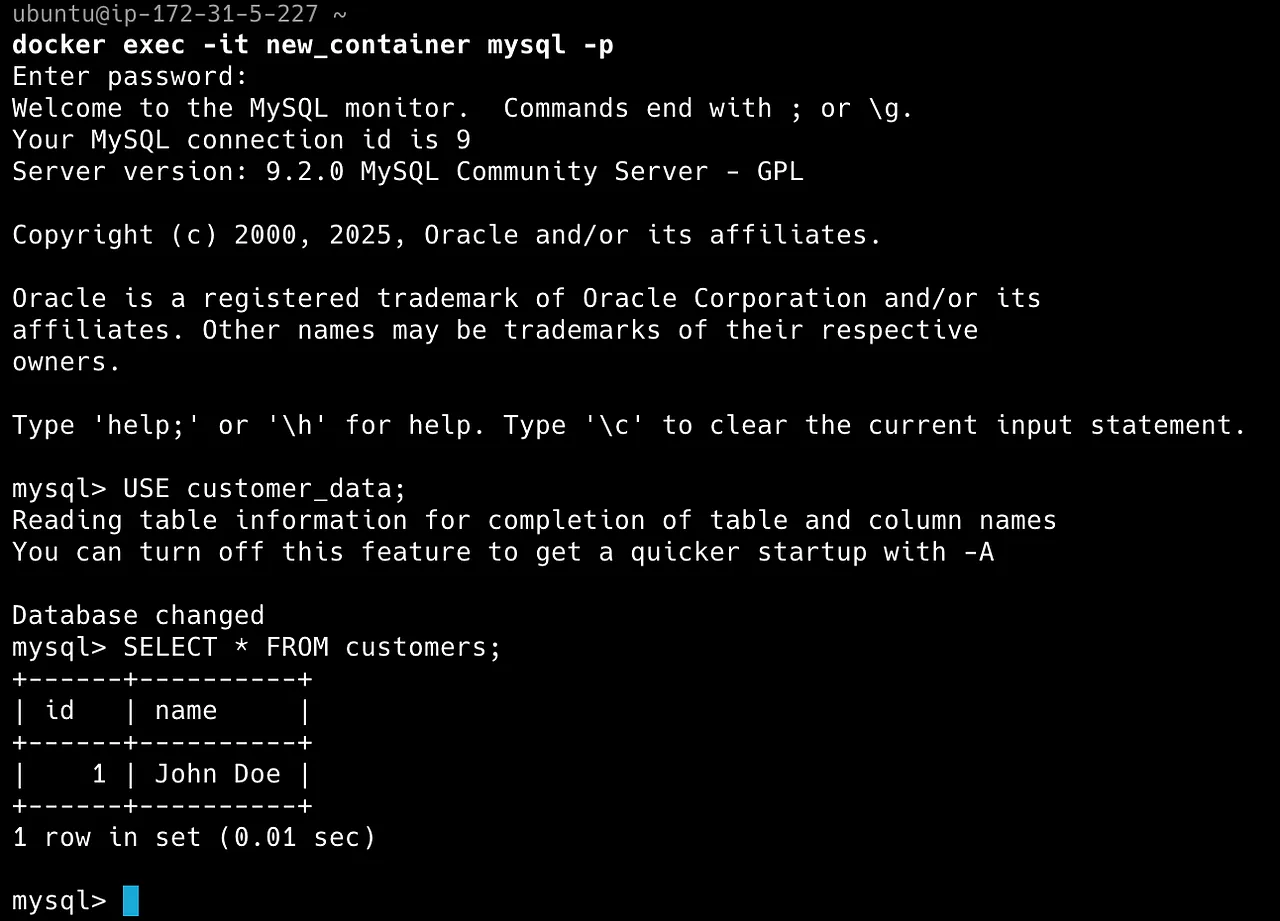
All our data is gone. Every new container starts in a fresh state, which is a problem if you need long-term storage. Docker volumes solve this problem. Attaching a volume to your container ensures that your data persists even if the container stops or is removed.
What are Docker Volumes?
In Layman’s terms, a Docker volume is a storage mount managed by Docker that is separate from the container’s filesystem.
Its content is in a directory on the host. When the volume is mounted into a container, the host directory is mounted into the container, allowing your applications to read and write directly without involving the container’s writable layer.
You can liken it to an external drive that multiple containers can access, allowing data to persist beyond its lifecycle until you explicitly remove it (using commands like docker volume rm or docker volume prune)
Apart from the Persistent Application Data use case mentioned above, there are other uses for docker volume; here are some :
- Easy Backups and Migrations: Since Docker manages volumes, it is more straightforward to back up or move them between Docker hosts.
- Performance: Volumes can offer high-performance I/O because they write directly to the host’s filesystem
- Sharing Data Between Containers: You can safely mount the same volume in multiple containers.
- Pre-Populating Data: When a container starts with an empty volume, Docker can copy the container’s pre-existing files into the volume, which is helpful for initializing application data.
Creating and Managing Volumes
Create a volume explicitly:
docker volume create my-vol
List volumes:
docker volume lsYou’ll see the name of each volume and the storage driver it’s backed by.

Inspect a volume:
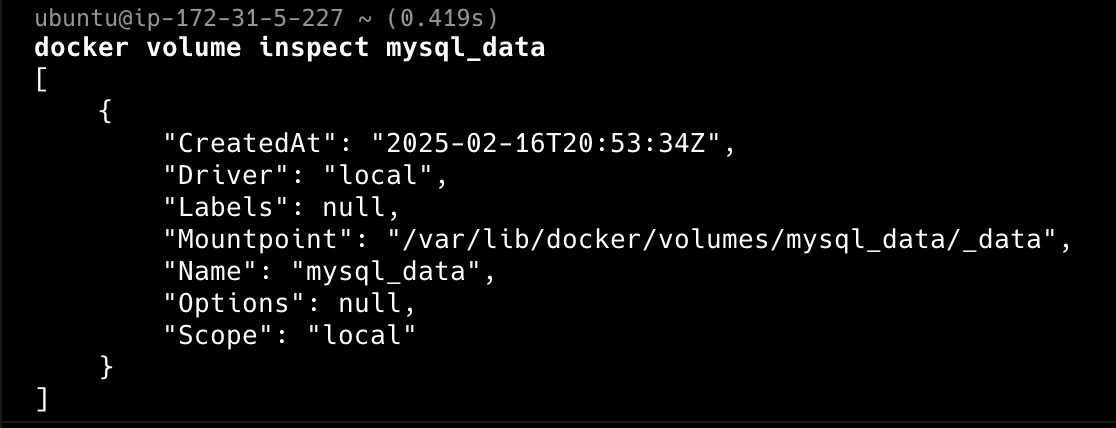
docker volume inspect my-vol
#This outputs details such as the volume’s mount location, driver, and scope.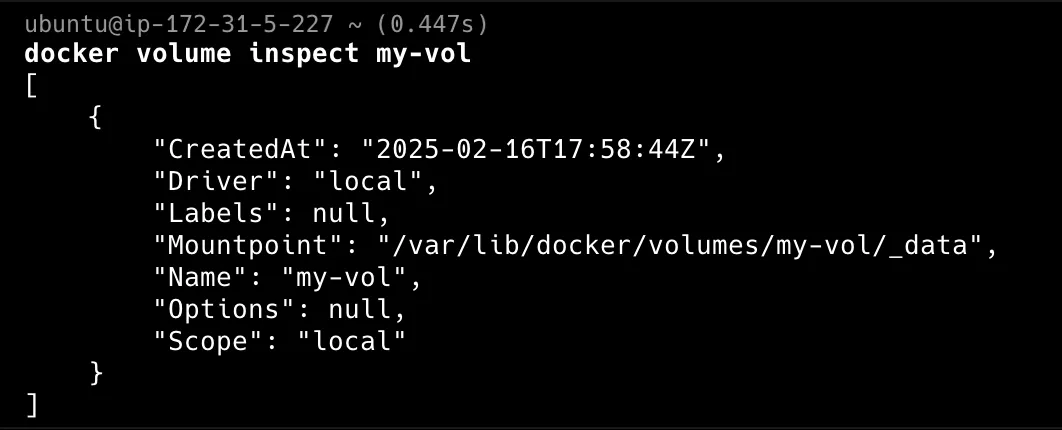
Remove a specific volume:
docker volume rm my-vol
#Carefully run this command as it permanently deletes stored data
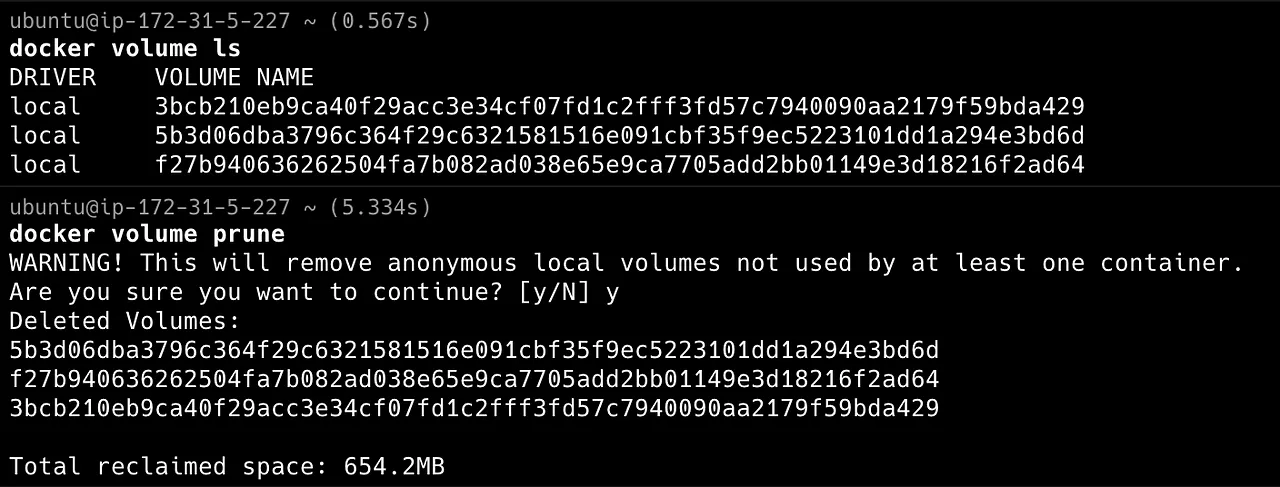
Remove unused volumes:
docker volume prune
#Removing volumes not in use by any container
The command deletes volumes that aren’t mounted to at least one container. Before the prune begins, you’ll see a confirmation prompt. After completing it, your terminal will display the total freed disk space.
When it comes to mounting volumes in containers, you have two foremost syntaxes that can be used: the short -v syntax and the more explicit —mount flag.
Using -v:
docker run -d --name my-container -v my-vol:/app nginx:latestUsing —mount:
docker run -d --name my-container --mount type=volume,source=my-vol,target=/app nginx:latest
Both methods achieve the same result—mounting your persistent volume at /app in the container. The —mount flag is more verbose and supports additional options (like mounting subdirectories or read-only configurations).
Mounting Over Existing Data
One important thing to be aware of when it comes to mounting volumes in containers is its behaviour depends on whether the volume is empty or not:
For instance, If you mount a non-empty volume into a directory inside the container containing files, the container’s files remain hidden ( this is similar to how mounting a USB drive over a directory on a Linux host works).
For example, Let’s say you have a container with a directory /app/data , and you mount a non-empty volume to /app/data; the original files in /app/datawill be hidden.
You must recreate the container to access the original files without mounting the volume.
Alternatively, if you mount an empty volume into a non-empty container directory, Docker automatically copies the directory into the volume. This behaviour is helpful for pre-populating data that another container might need.
For example, Let’s say you have a container with a directory /app/data , and you mount an empty volume to /app/data. Now, the volume contains files accessible by other containers that use the same volume.
Docker supports two volume types:
- Named volumes: Docker explicitly creates, manages, and labels these volumes using a user-defined name. This is also the recommended way to persist data in Docker. Let’s use our earlier MySQL example with a named volume:
#Create a Named Volume

docker volume create mysql\_data


#Attach the volume to a container

docker run -d \
 --name mydb \
 -e MYSQL\_ROOT\_PASSWORD=rootpassword \
 -v mysql\_data:/var/lib/mysql \
 mysql:9.2.0
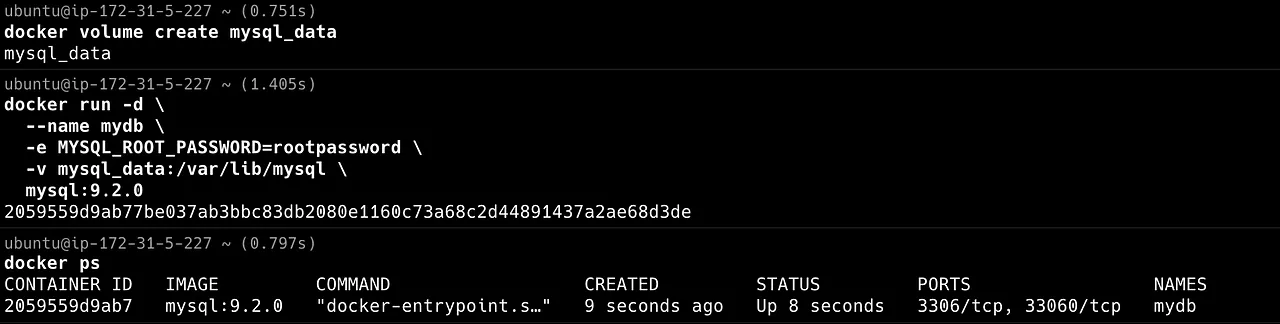
In this example:
- mysql_data is mounted to /var/lib/mysql inside the container.
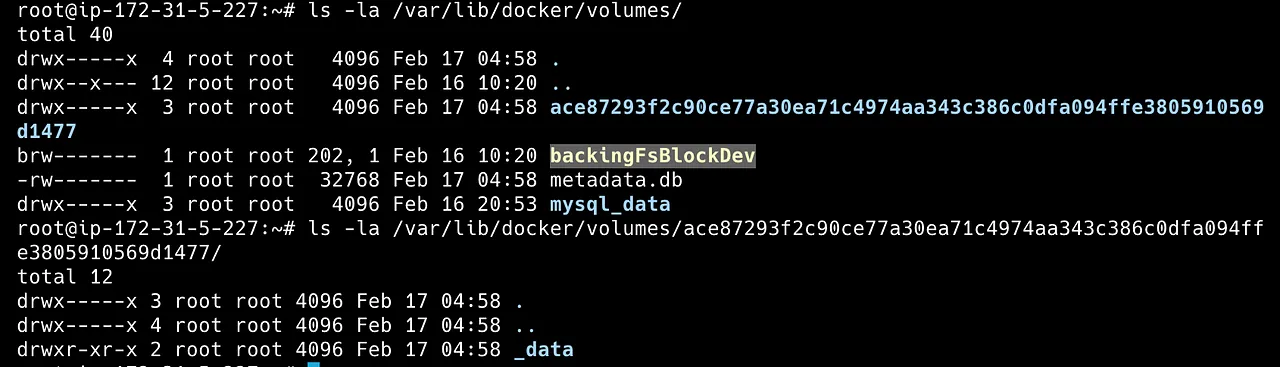
- Any data written to /var/lib/mysql of the container persists even if deleted cause the data is to be stored in the host directory in /var/lib/docker/volumes where docker stores volumes.
#Create and add data as previous example
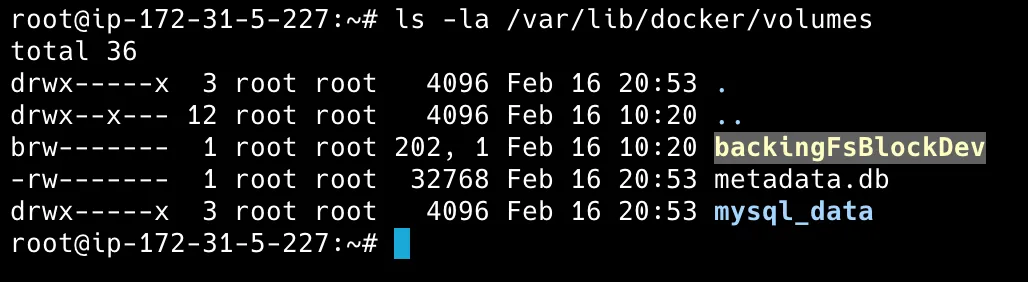
#Check host directory for named volume
ls -la /var/lib/docker/volumes
#Check the lists of volumes:
docker volume ls
#Inspect the volume details:
docker volume inspect mysql\_data
#Remove the container but Keep the Data
docker rm -f mydb
#If you restart a new container with the same volume, data will still be available
docker run -d --name new\_container -e MYSQL\_ROOT\_PASSWORD=rootpassword -v mysql\_data:/var/lib/mysql mysql:9.2.0


Named volumes can also easily be integrated into Docker Compose.
services:
 app:
 image: node:latest
 volumes:
 - named\_volume:/usr/src/app
volumes:
 named\_volume:
Every time you run docker compose up, Docker ensures the volume exists and persists across restarts.
- Anonymous Volumes: These volumes function similarly to named volumes, but Docker creates them automatically. When a container starts without a specific volume name, you could call it temporary storage for containers.
Unlike named volumes, Anonymous volumes are challenging to manage or share with other containers because they are tied to the container’s lifecycle. When the container using the volume is removed with docker rm, the associated anonymous volume is also deleted by default.
docker run -d \
 --name temp\_container \
 -v /app/cache \
 ubuntu
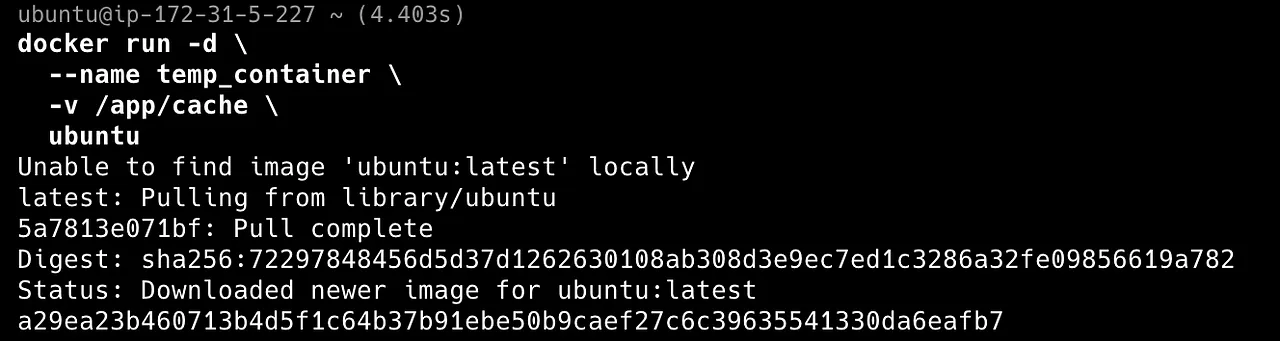
Docker automatically creates volume/app/cache, but it won’t be easily identifiable with docker volume ls because it is assigned a bunch of randomly generated strings (e.g., a1b2c3d4e5f6…), not a user-friendly name.
At least I forget the volume is also saved in the same host directory as the named volumes. /var/lib/docker/volumes
#To locate the anonymous volume associated with the container
docker inspect temp\_container | grep Mounts -A 5
Now that we have covered the basics, let’s take a few advanced volume use cases.
Use a Read-Only Volume
Sometimes, you want to provide a container with data but prevent it from modifying it. You can mount a volume as read-only:
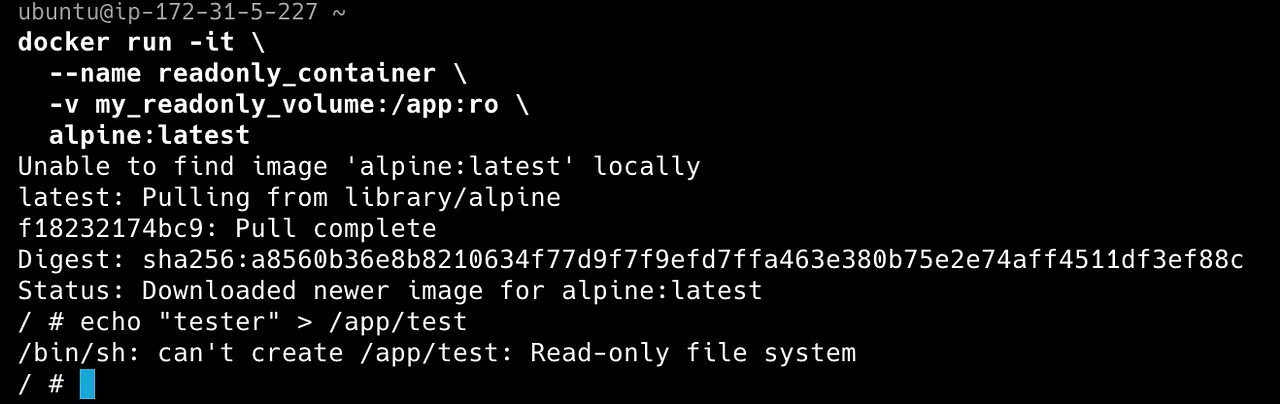
docker run -it \
 --name readonly\_container \
 -v my\_readonly\_volume:/app:ro \
 alpine:latest
Here, the container can read the contents of /app, but it cannot be written to it due to :ro added. The container can read the volume’s content from the mount point but will be prevented from modifying. This is ideal when a volume is shared between multiple containers, only some of which are expected to perform writes.
Mount a Volume Subdirectory
What if you only want to share a specific subdirectory of a volume? You can do that using volume-subpath:
docker run -d \
 --name subdir\_container \
 --mount source=myvolume,destination=/app,volume-subpath=myfolder \
 ubuntu
This ensures that only /myfolder within myvolume is accessible to the container.
Sharing Volumes Between Multiple Containers
An advantage of Docker volumes highlighted earlier is that multiple containers can access the same data. For example, you can have an NGINX web server and a PHP application sharing the same files:
docker run -d --name php-app -v shared\_data:/var/www/html php:apache

docker run -d --name web-server --volumes-from php-app nginx
The —volumes-from flag allows you to share volumes between containers without explicitly defining the volume in the second container.
In this use case, the php-app container writes files to /var/www/html, which are stored in the shared_data volume. The web-server container accesses the same shared_data volume and serves the files from /var/www/html. Both containers now share the same data stored in shared_data.
Volumes make containerized applications more reliable, separating the application from the data it generates. By understanding Docker volumes, you’ll be well on your way to building persistent Docker environments.
If you liked this Story, check out my other posts.
Have a good day :)